How to Remove Blue Jean Dye Transfer From Leather Tote Handles
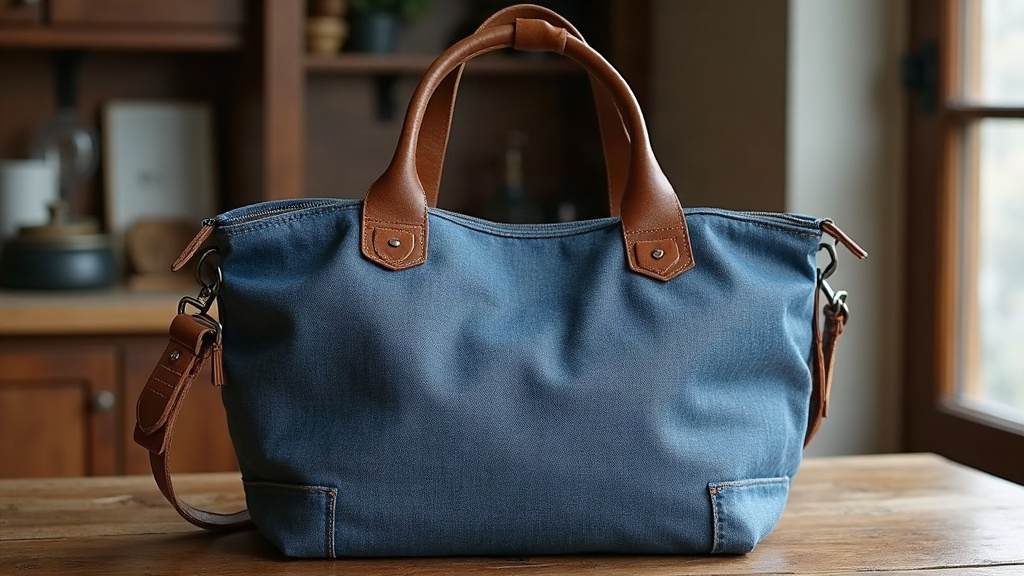
If you’ve ever paired a natural leather tote with a crisp pair of dark jeans, you’ve probably spotted it: those faint blue smudges creeping across the handles after just a few wears. Here’s the reassuring part. Blue jean dye transfer can almost always be lifted off natural leather tote handles with gentle cleaning, the right dye-lifting product, and a good conditioning session afterward. No need to toss the bag. Just don’t go at it with a scrub brush, because that’s exactly how people make it worse.
Why Jeans Transfer Dye Onto Leather
Denim gets its color from indigo, and indigo has a bad habit of not staying put. It’s never fully locked into the cotton fibers, so any time denim rubs against something porous, your skin, a car seat, unfinished leather, loose dye particles jump ship and land on whatever they’re touching. Natural leather (the undyed, aniline, or lightly finished kind) takes the hit harder than most because it doesn’t have that protective topcoat pigmented leathers rely on. Instead of sitting on the surface, the dye soaks right into the fibers.
A few things make the problem worse:
- New, dark, or raw denim. Unwashed jeans are basically dye factories waiting to happen; they shed the most pigment in the first several wears.
- Heat and friction. Resting the tote on your lap on a warm afternoon, or just general summer heat, speeds up the transfer.
- Light or vegetable-tanned leather. The lighter and more porous the hide, the more it shows and absorbs.
- Moisture. Sweat, a sudden rain shower, even high humidity can push the dye deeper into the leather before you’ve had a chance to notice it.
What You’ll Need
- Soft microfiber cloths, preferably white so you can actually see the dye lifting off
- Distilled water
- A mild, pH-balanced leather cleaner or saddle soap (skip anything with ammonia or bleach)
- A leather-safe dye/stain remover (patch test first), or a leather eraser sponge
- Leather conditioner or cream matched to your specific leather type
- A small soft-bristle brush, optional, for the stubborn spots that won’t budge
Step-by-Step Removal Process
1. Test in a Hidden Spot
Don’t skip this. Dab a bit of your cleaner on the underside of a handle, or a fold inside the strap, somewhere nobody will ever see. Wait a few minutes and check the leather hasn’t discolored or dried out. Five minutes of patience here can save you from a much bigger headache.
2. Start With the Gentlest Method
Dampen a microfiber cloth with distilled water, just damp, not dripping, and blot the stain. Don’t rub. Fresh dye transfer often comes up with nothing more than water and a bit of patient blotting in one consistent direction. Rubbing back and forth just works the pigment deeper into the grain.
3. Use a Leather Eraser or Mild Soap
If plain water isn’t cutting it, bring in a specialty leather eraser (think of it like a suede eraser, same idea) or a small amount of saddle soap on a damp cloth. Work it in small circles, gentle pressure, and wipe away the residue with a clean damp cloth after every pass. Think patience over power here.
4. Escalate to a Dedicated Dye Remover if Needed
For transfer that’s been sitting there for weeks or months, a leather-safe stain remover built specifically for dye migration is your best bet. Put a small amount on the cloth, never straight onto the leather, dab gently, let it sit for 30 to 60 seconds, then wipe clean. Do this in short rounds rather than one long aggressive session. Over-treat natural leather and you risk lightening the color or changing the texture permanently, which is obviously worse than the stain you started with.
5. Dry Naturally
Let the handles air dry somewhere out of direct sun, away from radiators, and nowhere near a hairdryer. Heat can lock in whatever dye is left for good, and it dries leather out fast enough to crack it.
6. Condition the Leather
Here’s the step people skip and regret. Even the gentlest cleaning strips some of the leather’s natural oils. Once everything’s completely dry, work in a thin layer of conditioner to bring back suppleness and even out any color variation. Buff it in with a soft cloth.
What to Avoid
- Bleach, acetone, or nail polish remover. These will strip the color and finish, and there’s no undoing it.
- Baking soda paste. Too abrasive for natural leather; it’ll leave texture marks that are arguably worse than the stain.
- Too much water. You’ll end up with water rings or warped leather instead of a clean handle.
- Scrubbing hard. It pushes the dye deeper instead of lifting it out. Every single time.
Preventing Future Dye Transfer
- Give new totes a light coat of leather protector or conditioner as a barrier before you even use them.
- Wash new dark jeans three or four times before carrying the bag regularly with them.
- Rotate which part of the handle or strap gets the most contact, so the wear and transfer don’t concentrate in one spot.
- Keep the tote away from unwashed denim and other dark, dye-heavy textiles when it’s in storage.
When to Call a Professional
If the stain is old, deeply set into the grain, or spread across a large section of a light or high-value tote, this is where a professional leather cleaner (or the bag manufacturer’s own care service) earns their fee. They’ve got access to controlled treatments that would be too risky to try at your kitchen table.
Final Thoughts
Blue jean dye transfer looks alarming on a pale leather tote, but it’s rarely permanent. It’s a nuisance, not a death sentence for the bag. Go gentle, always test first, and finish every cleaning session with conditioner so the leather keeps its natural character. Handle it with a bit of patience and the right order of operations, and those handles will look clean again, without losing the warmth and texture that made you choose natural leather in the first place.