Why Contact Cement Fails on Oily Pull-Up Leather (And What Works)
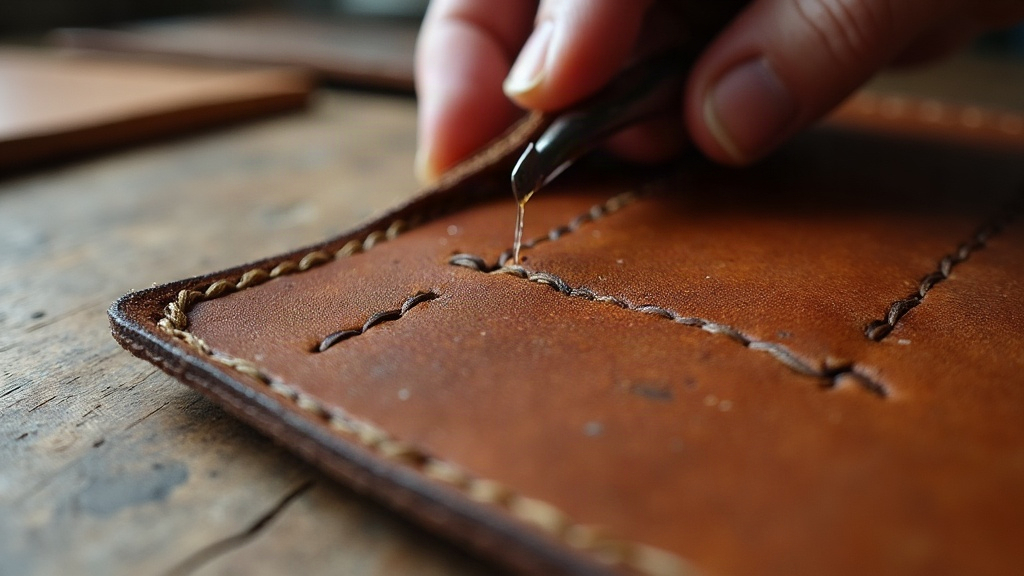
Contact cement fails on oily pull-up leather for a simple reason: the surface oils and waxes migrate upward and physically block the adhesive from ever reaching bare fibers. Instead of bonding to leather, the cement ends up gripping a thin film of grease, and that bond peels, lifts, or slides apart within days or weeks. Fixing it means degreasing the surface properly, picking a grease-resistant adhesive, and sometimes roughing up the fibers mechanically before you even think about gluing.
What Makes Pull-Up Leather So Hard to Bond
Pull-up leather (sometimes called pull-up oil or waxy leather) gets drum-dyed or hand-finished with a heavy load of oils and waxes. That’s exactly what produces the signature “pull” effect, that lighter patch of color showing up when you stretch or crease it. But the same richness that makes the leather beautiful is a nightmare for anyone trying to glue it:
- Surface oils never fully cure. They stay mobile inside the hide and keep migrating toward the surface, sometimes for years after tanning.
- Wax forms a non-porous layer. Contact cement needs open fibers to soak into; wax seals those fibers shut.
- Oils act like a release agent. Solvent-based contact cement partially dissolves into that oil layer rather than gripping the collagen underneath.
- New oil keeps showing up. Clean the surface today, and oil from deeper in the hide can resurface weeks later, quietly weakening a bond that looked solid at first.
This is why a repair can look flawless on day one and fail a month later. The oil simply hasn’t finished moving yet.
Why Contact Cement Specifically Struggles
Contact cement (neoprene or rubber-based) is built to create a strong film-to-film bond between two prepared surfaces. It works beautifully on vegetable-tanned leather, canvas, and rubber, because those materials are relatively dry and porous. Pull-up leather throws three problems at it:
- Poor initial tack. The cement can’t grab fibers that are coated in oil, so the bond starts weak, even straight out of the clamp.
- Plasticizer migration. Oils inside the leather slowly work their way into the cement itself, softening it over time (the same reason rubber cement dries out and crumbles when stored near oily materials).
- No mechanical interlock. Wax fills in the microscopic texture that adhesive would normally “key” into.
The outcome is predictable: edges curl, seams separate under flex, and patches lift at the corners first, exactly where oil concentration and stress both peak.
How to Prep Oily Pull-Up Leather Before Gluing
1. Degrease the Bond Area
Wipe the area with isopropyl alcohol (90%+ ) or a leather-safe degreaser like acetone (test on a scrap piece first). Repeat two to three times, letting each pass flash off before the next. Don’t soak it. You’re stripping surface oil, not the whole hide.
2. Let It “Sweat,” Then Repeat
Oily leather will often re-release oil within 10 to 15 minutes of wiping. Wipe it again right before you glue. On heavily saturated hides, degrease the night before and once more right before applying adhesive.
3. Rough Up the Surface
Scuff the bonding area lightly with 220-320 grit sandpaper. This opens the fibers for mechanical grip and shaves off a thin layer of the oil-saturated top surface, which matters a lot on very waxy hides.
4. Apply a Barrier or Primer Coat
A thin coat of shellac-based sealer or a cobbler’s leather primer can lock remaining oil beneath the surface, so the adhesive bonds to something stable instead of a layer that’s still moving around underneath it.
Better Adhesive Choices for Oily Leather
- Barge All-Purpose Cement – a classic cobbler’s contact cement with noticeably better grease tolerance than the stuff off the hardware store shelf, especially once the surface has been properly degreased.
- Polyurethane-based leather adhesives (think Fiebing’s Leathercraft Cement or similar alternatives) – more flexible, and more forgiving of minor surface oils.
- Two-part epoxy for high-stress repairs – it won’t flex the way cement does, but for small, rigid patches or gap-filling, epoxy beats contact cement on oily surfaces every time.
- Stitching as backup, not just decoration – on boots, bags, and belts, running stitches through the glued seam covers for any adhesive weakness that creeps in later.
Quick Checklist Before You Glue
- Degrease twice, with a wait and a re-wipe in between
- Lightly sand the bond area
- Test the adhesive on a scrap oily patch first, check it again after 48 hours
- Clamp with even pressure for the full cure time listed on the product
- Avoid flexing the repair for at least 24-48 hours after bonding
Conclusion
Contact cement isn’t a bad adhesive. It’s just the wrong tool for a surface that’s actively working against it. Oily pull-up leather needs aggressive degreasing, a bit of surface abrasion, and ideally a grease-tolerant option like Barge or a flexible polyurethane adhesive. Skip the prep, and even premium contact cement will lift within weeks. Do the prep properly, though, and you’ll end up with a bond that actually survives the flex, oil, and wear that pull-up leather is known for.