Waterproof Leather Fly-Fishing Reel Cases for Cold Rivers
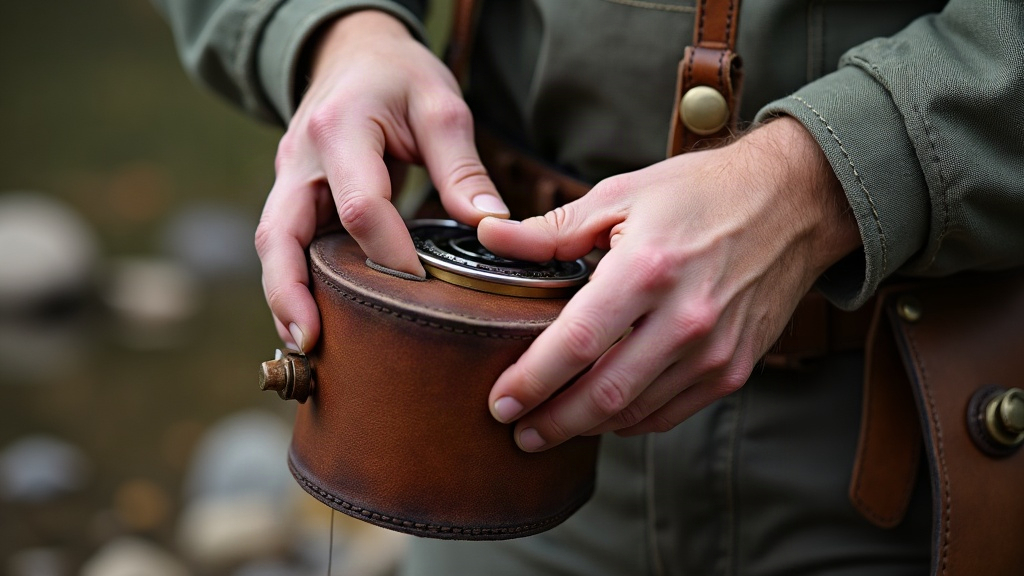
Why a Dedicated Cold-Weather Reel Case Matters
Standard neoprene or fabric pouches soak up water and go stiff as a board the second temperatures drop below freezing. A well-built leather case behaves very differently:
- Resists water penetration when properly waxed or oiled
- Stays flexible longer in cold temperatures than synthetic foam
- Cushions the reel against knocks on rocky riverbanks
- Develops a patina that actually gets better with age and use
If you’re fishing tailwaters, steelhead rivers, or alpine streams in late fall and winter, you need gear that won’t crack, seize up, or soak through after a few hours standing in the current.
Choosing the Right Leather
Not every hide handles wet, cold conditions the same way. Some fall apart after one soggy afternoon; others shrug it off for years.
Best Options
- Full-grain vegetable-tanned leather (8-10 oz): Thick enough to hold its shape, and it takes wax beautifully.
- Chrome-tanned waterproof leather: Naturally more water-resistant right off the roll, though a bit less rigid.
- Oil-tanned leather (harness or latigo): Already loaded with oils that push moisture away.
Skip thin garment-weight leather or suede. Both soak through fast and lose their shape the moment the mercury drops.
Design Considerations for Cold Rivers
Good material alone won’t save a badly designed case. Build in these details and the case will actually earn its keep on the water:
- Snug, padded fit. Line the interior with wool felt or thin neoprene so the reel can’t shift around, and you get a bit of thermal buffering as a bonus.
- Overlapping flap closure. A storm-flap that extends 1.5 to 2 inches past the opening blocks driven rain and splash far better than a zip-top ever will.
- Drainage gap. Leave a small unsewn section, or set a brass grommet, at the lowest point of the case so trapped moisture has somewhere to go instead of pooling against the reel.
- Corrosion-resistant hardware. Stick with brass or stainless snaps and rivets. Steel hardware starts rusting embarrassingly fast near water.
Step-by-Step Construction
1. Pattern and Cut
Measure the reel’s diameter and width, then add 3/8 inch of ease to leave room for padding. Cut two body panels, a gusset strip for depth, and a flap piece that extends straight off the back panel as one continuous piece.
2. Waterproof the Leather Before Assembly
Do this while the leather is still flat. It’s much easier to get even coverage that way.
- Warm the leather gently with a hairdryer on low
- Work in a beeswax-based leather balm (beeswax, neatsfoot oil, a touch of pine resin) in thin coats
- Buff between coats, and plan on 2-3 layers if you want real water resistance
- Let it cure for 24 hours before you pick up a needle
3. Stitch with Waxed Thread
Use saddle stitching with heavy waxed polyester or linen thread (0.8mm). Saddle stitching beats a machine lockstitch here because each stitch locks on its own. If one thread snaps somewhere down the line, the whole seam doesn’t unravel with it.
- Aim for 5-6 stitches per inch for real strength
- Run a bead of leather sealant along the stitch line once you’re done sewing, for an extra layer of protection
4. Seal the Seams
This is the step most DIY builders skip, and it’s exactly where most homemade cases fail. Once stitching is finished:
- Apply a thin line of beeswax or tallow-based sealant directly over every seam
- Hit it briefly with a heat gun to melt the wax into the stitch holes and close up any micro-gaps
- Let it cool, then buff off the excess
5. Attach Hardware and Closure
Install brass snaps or a leather tuck-strap closure. Stay away from exposed metal zippers. They freeze solid and corrode fast in cold, wet conditions, and there’s nothing worse than fighting a frozen zipper with numb fingers on a riverbank.
Maintaining Your Case in the Field
- Re-wax every 4-6 outings, or sooner if the leather starts feeling dry or loses its sheen
- Dry the case fully after each trip, away from direct heat, before putting it away
- Never store a damp case in an airtight bag. Even treated leather will mold under those conditions
- Keep a small tin of balm in your fishing pack for quick touch-ups on scuffs mid-trip
Common Mistakes to Avoid
- Over-oiling: too much oil softens the leather past the point of usefulness, and the case starts to sag
- Skipping the seam seal: stitch holes are the number one entry point for water, full stop
- Using cotton thread: it soaks up water and rots far faster than waxed synthetic or linen thread
- Ignoring drainage: seal a case up completely with no escape point and you just trap condensation inside it
Conclusion
A properly built leather reel case can outlast and outperform anything synthetic in cold river conditions, as long as you start with dense, well-tanned leather, wax it thoroughly both before and after stitching, and build in small but crucial details like drainage and rust-proof hardware. Give it a weekend, a basic set of leathercraft tools, and some patience, and you’ll end up with a rugged, weatherproof case that protects your reel season after season. It only gets more handsome the more rivers you drag it to.