Fixing Loose Saddle-Stitch Tension on Curved Leather Knife Sheaths
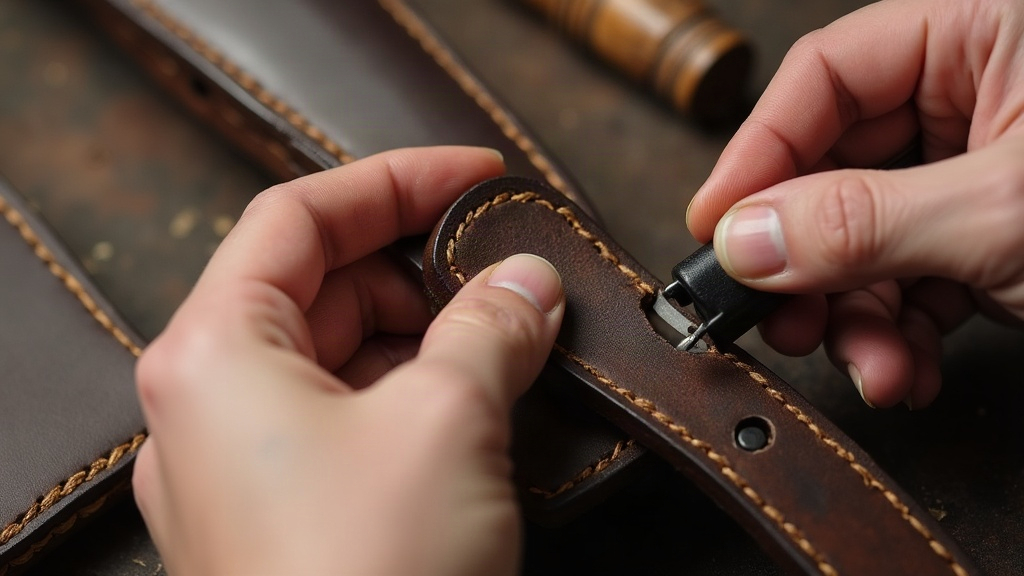
Loose saddle stitches on curved leather knife sheaths almost never come down to weak thread or sloppy awl holes. Nine times out of ten, it’s uneven thread pull along the inside radius of the curve. The fix isn’t “pull harder.” It’s a mix of adjusted stitch spacing, consistent two-handed tension, and burnishing the channel before you ever thread a needle.
Why Curves Break Saddle-Stitch Tension
On a straight seam, you can pull both needles with roughly equal, predictable force because the leather doesn’t fight you. The geometry stays put. A curved sheath, especially around the belt loop transition or the blade’s drop point, is a different animal entirely:
- Inside curve compresses. Stitches along the inner radius sit closer together than those on the outer edge. Thread that felt perfectly snug on a straight run will suddenly go slack the moment the leather flexes into the curve.
- Thread memory fights the curve. Waxed thread “remembers” whatever shape it was last pulled into. Stitch a straight section first, and that memory will resist settling cleanly into the tighter curve that follows.
- Awl angle drifts. On curves, most people instinctively tilt the awl to follow the line. That tilt changes the hole diameter, and even with textbook pulling technique, the stitch ends up loose.
Step-by-Step Fix
1. Re-mark Your Stitch Spacing on the Curve
Standard spacing of 5-6 stitches per inch works fine on a straight welt, but tight curves usually need it tightened up. Swap to a smaller pricking iron, or adjust your spacing wheel to shorten hole distance by about 10-15% through the curved section only (leave the straight runs alone). This keeps the stitch density looking consistent to the eye while giving you more pull points to manage tension where it actually matters.
2. Punch, Don’t Just Prick, on Tight Radii
A pricking iron is fine for marking the line, but on a sharp curve you need to follow up with an awl punched straight through at 90 degrees to the leather, not angled to match the curve’s lean. Tilt the awl and you enlarge the hole on one side, leaving a gap the thread simply can’t fill no matter how hard you pull.
3. Pull Tension in Short, Equal Increments
Long, full-arm pulls work great on a straight run. On a curve, they’ll betray you. Switch to short, even pulls, 2-3 inches at a time, and pull the left and right needle the exact same amount before moving to the next hole. Skip this and one side overtightens while the other stays slack, which is exactly what produces that “wavy” loose look you see on so many curved sheaths.
4. Back-Stitch the Transition Points
Wherever a curve meets a straight section (say, where the sheath body transitions into the welt near the mouth), go back and stitch one extra hole. That anchors tension right at the geometry change, so slack doesn’t creep further down the line as you keep sewing.
5. Burnish the Stitch Channel First
A proper grooved stitching channel (cut with a groover, not just scored with a crease) gives the thread somewhere to sit below the surface. Skip the channel on a curve and the thread sits proud, which loosens with ordinary handling in a matter of weeks. Cut the groove, dampen it lightly with gum tragacanth or plain water, and burnish it smooth before you pick up a needle.
Fixing Stitches That Are Already Loose
Sheath’s already assembled and you’re staring at gaps? Here’s what actually works:
- Re-run the line with a stitching awl. Follow the exact same holes and manually take up slack one hole at a time, holding the work steady in a stitching pony or clam.
- Don’t just re-wax and tug. That trick usually just shifts the slack to the next stitch over instead of removing it.
- For a sheath already in daily use, run a few lock stitches (saddle stitch with an extra pass) at the two or three worst spots. It’s a much faster field fix than tearing out and redoing the whole seam.
Prevention for Future Sheaths
- Pattern your curves with slightly tighter stitch spacing from the very start, not as an afterthought.
- Test your awl angle on a scrap piece cut to the same curve radius before you commit to the final leather.
- Use a stitching pony or sewing clamp. Hand-holding a curved sheath while you sew introduces inconsistent pressure, and that inconsistency is exactly what causes tension problems in the first place.
Conclusion
It really does come down to geometry. Curves demand tighter spacing, a straight (not tilted) awl angle, and shorter, matched tension pulls, none of which a flat seam requires. Cut a proper stitching groove, anchor your transition points with back-stitches, and most tension problems never get the chance to start. For a sheath that’s already loose, a patient re-run with a stitching awl can often save it. Treat the curve as its own zone with its own rules, and your seams will hold tight and look clean, every single time.