Choosing the Right Skiving Angle for Wallet Corners
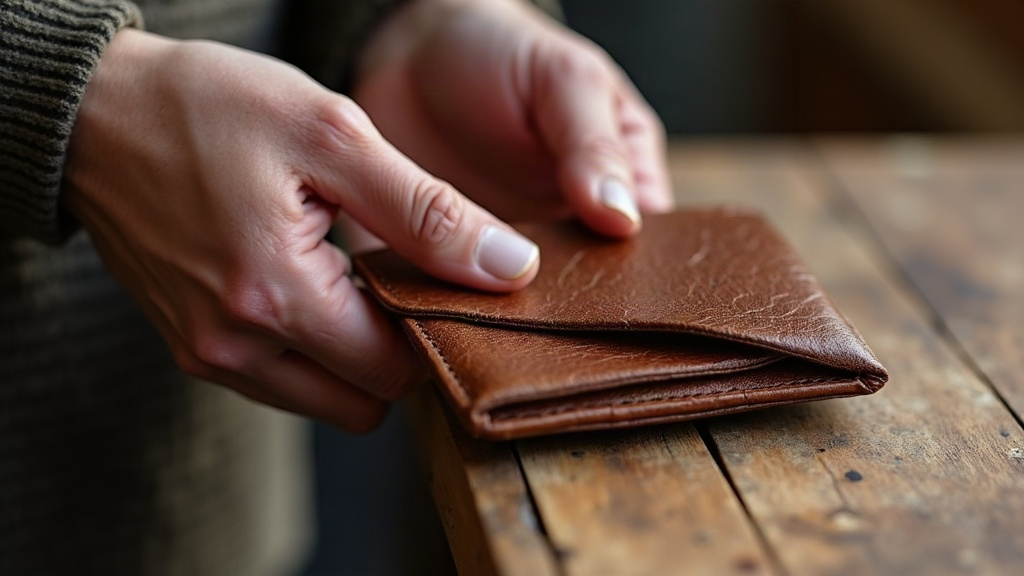
Ever finished a beautiful leather bifold, only to realize the corners bulge out like a stuffed taco? Choosing the exact skiving angle is what separates a chunky, amateurish fold from a crisp, professional edge that lies perfectly flat for years. Nailing the right geometry based on your leather thickness, corner type, and finishing method will completely change how your pieces feel in the hand. Grab your knife and let us get to work.
Why Skiving Angle Matters at Wallet Corners
Wallet corners endure a brutal lifespan. They are constantly jammed into tight denim pockets, sat on, and bent hundreds of times a week. If you leave the leather too thick at the fold, physics takes over. A poorly skived corner will:
- Bulge stubbornly instead of laying flat.
- Crack the top finish after a few months of repeated flexing.
- Turn your stitching line into a nightmare where awl holes wander unevenly.
- Create a massive lump under a delicate card slot or bill compartment.
When you skive, you are surgically removing a wedge of material from the flesh side. Done right, a piece of heavy harness leather folds like paper, yet retains its full structural strength on the grain side.
The Core Angle Ranges
Most craftsmen bounce between three practical ranges at the workbench.
1. Low Angle (5–10°) for Long, Gradual Tapers
You need this shallow approach for turned edges and rounded corners where a fold has to look completely seamless. By spreading the thinning over a generous distance (usually 15 to 20 millimeters back from the edge), you eliminate any visible step. If you transition too fast, the front of the wallet will show an ugly ridge exactly where the full thickness meets the skived section.
Best for: Bifold spines, delicate card pocket flaps, and smooth rounded corner turns.
2. Medium Angle (15–25°) for Standard Fold Lines
This is your daily driver for straight folds and classic mitred corners. A medium angle removes enough bulk to let the leather fold back onto itself 180 degrees without putting undue stress on the grain. It leaves enough material behind so the corner still feels substantial rather than flimsy.
Best for: Standard bifold or trifold corners, and heavy gusseted card slots.
3. Steep Angle (30–45°) for Overlap and Lamination Points
Think about joining three layers of 1.5mm leather at a single point. Without an aggressive taper, you end up with a brick. When gluing and stitching mating surfaces like a corner miter or a welt seam, you want a steep skive on both pieces. They overlap cleanly and fuse into what looks like a single piece of leather.
Best for: Box corners, overlapping gussets, and bulky multi-layer bill compartments.
Matching Angle to Leather Thickness
As a general baseline at the cutting mat:
- 1.0 to 1.4mm leather: Stick to 10 to 15 degrees. You have very little runway here before your blade slices right through the grain.
- 1.5 to 2.0mm leather: Go with 15 to 25 degrees. This is the sweet spot for a typical Buttero or Pueblo wallet exterior.
- 2.0mm+ leather: Aim for 25 to 40 degrees, which is common for heavy veg-tan shells. You usually want to tackle this in two passes. Take a rough pass to hog out the bulk, then follow up with a fine cleanup pass to flatten the surface without tearing the fibers.
Thinner hides simply cannot handle steep cuts. If you get too aggressive, you ruin the piece. On the flip side, thick saddle skirting will laugh at a shallow 5-degree angle. You will end up making five separate passes and creating a wavy, uneven mess.
Tools and Technique Tips
- French skiver or safety beveler: These are phenomenal for beginners. The fixed blade geometry forces consistency across all four corners of a project.
- Skiving knife (freehand): A traditional Japanese knife gives you absolute control, but it demands serious muscle memory. Keep the blade razor sharp. Always push away from your body using short, deliberate strokes rather than one long, hopeful drag.
- Skiving machine (bell or belt): This is the ultimate production cheat code when you need fifty identical corners. Set your guide width and angle once. Just make sure to run a scrap piece first to check the tension.
Whatever tool you reach for, always test your angle on a scrap piece from the exact same leather batch. A dense shoulder cut behaves entirely differently than a spongy belly cut. What shaved off like warm butter on your last project might tear horribly on this one.
Common Mistakes to Avoid
- Stopping short of the edge line: If your skive does not extend slightly past the actual fold line, you will get a nasty, visible bump when the wallet is closed.
- Taking greedy passes: Trying to remove a massive chunk of thick veg-tan in one go almost guarantees torn flesh fibers. Two light passes always beat one heavy one.
- Fighting the grain direction: Skiving against the natural direction of the fibers causes the blade to chatter and dig in unpredictably. Pay attention to how the steel glides.
- Using a one-size-fits-all angle: A long bifold spine requires a completely different taper than a tiny card-slot corner. Adapt your geometry to the specific joint.
Conclusion
There is no magic universal number at the workbench. The ideal geometry shifts constantly based on leather weight, the style of the fold, and the sheer number of layers converging at a single point. Try 10 to 15 degrees for lightweight leathers and delicate turned edges. Bump it to 15 to 25 degrees for your standard exterior folds. When you need to laminate multiple thick layers into a single seamless corner, push into that 30 to 45-degree territory. Dial in your tools on scrap leather, respect the natural grain, and work in conservative passes. That careful preparation translates directly into flat, professional corners that survive years of hard daily use.