Beginner Guide to Making a Minimalist Card Holder From Chromexcel
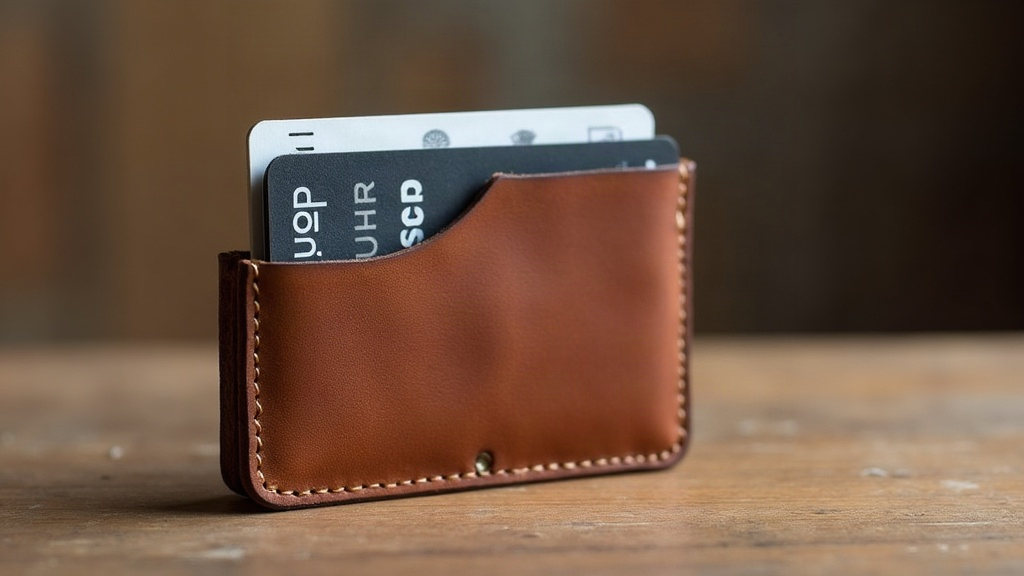
If you’ve got a drawer full of Chromexcel offcuts left over from bigger projects, a minimalist card holder is the perfect way to use them up. This build barely needs any hardware, just a handful of hand tools, and you can knock it out in an afternoon. Honestly, it’s one of the best entry points into leatherworking if you already love the look and smell of Horween’s famous hot-stuffed leather.
Why Chromexcel Offcuts Work So Well for This Project
Chromexcel is thick, pull-up leather known for its rich patina and oily feel. Full hides or large panels usually go toward bags and belts, and what’s left over tends to sit in a drawer, too small for anything substantial. Except a card holder. That project typically only needs two pieces, roughly 3.5” x 2.5” each, so those awkward scraps finally get a purpose.
Here’s why offcuts specifically make sense for this build:
- Cost-effective: you’re repurposing scraps instead of buying a fresh cut.
- Character: offcuts often come from the edge of a hide, where grain texture and color variation show up more. That means your card holder ends up one-of-a-kind, not a copy of the next guy’s.
- Low risk: since you’re not committing a full piece of leather, it’s a forgiving way to practice stitching and edge finishing without worrying you’ve ruined something expensive.
What You’ll Need
Materials:
- Two Chromexcel offcuts (minimum 3.5” x 2.5”, 4-5oz weight works best)
- Waxed thread (0.6mm, tiger thread or linen works well)
- Edge paint or beeswax for burnishing
- Contact cement or leather glue (optional, for tacking pieces before stitching)
Tools:
- Rotary cutter or utility knife + metal ruler
- Stitching chisel (4-5 prong, 3-4mm spacing)
- Two harness needles
- Edge beveler
- Burnishing tool (wood slicker or canvas cloth)
- Cutting mat
Step-by-Step Instructions
1. Choose and Prep Your Offcuts
Pick two pieces with consistent thickness and minimal flaws. Chromexcel can vary in color quite a bit across a single hide, so try to match tone between the two pieces for a cohesive look, or go the other way and contrast them on purpose for a two-tone design. Both work. It really comes down to what you’re going for.
2. Cut to Size
A simple minimalist card holder pattern is just two rectangles, one slightly shorter than the other, stacked and stitched along three sides with the top left open. A common size looks like this:
- Back panel: 3.5” x 2.4”
- Front panel: 3.2” x 2.2” (slightly shorter so your thumb can reach the cards)
Round the corners a little with a corner punch or scissors. It’s a small touch but it makes the finished piece look far less homemade.
3. Mark and Punch Stitch Lines
Use a stitching groover, or just measure in 3-4mm from the edge and mark your stitch line with a wing divider. Punch holes along the bottom and both sides with your chisel, keeping the spacing even. This matters more for looks than for structural strength, but uneven holes are one of the first things people notice on a finished piece, so take your time here.
4. Glue and Stitch
Apply a thin layer of contact cement along the edges to hold the panels together before you stitch. This stops the leather from sliding around on you mid-stitch, which is more annoying than it sounds. Once it’s tacky, press the panels together and stitch using the saddle stitch technique: two needles, one thread, crossing through each hole from opposite sides. Done right, this seam holds up far better over time than anything a sewing machine would produce.
5. Bevel and Burnish the Edges
Run an edge beveler around all the stitched edges to soften the corners. Then burnish with water (or gum tragacanth) and a canvas cloth or wood slicker until the edge turns smooth and slightly glossy. Chromexcel burnishes almost effortlessly thanks to its wax content, so in most cases you can skip the edge paint altogether.
6. Condition and Break It In
Chromexcel comes pre-loaded with oils and waxes from the hot-stuffing process, so it rarely needs conditioning right out of the gate. Just flex the card holder by hand a few times to loosen up the fibers before you load it with cards. Give it a week of use and you’ll already notice the leather softening into its own shape.
Common Beginner Mistakes to Avoid
- Uneven stitch spacing: use a chisel instead of free-handing an awl if you want consistent holes.
- Skipping the glue step: panels shift around easily without a quick tack before stitching.
- Over-sanding edges: Chromexcel edges burnish well on their own. Aggressive sanding just thins the leather for no good reason.
- Ignoring grain direction: orient your offcuts so the natural pull-up effect reads as intentional, not accidental.
Final Thoughts
A minimalist card holder is one of the most practical, rewarding projects a beginner leatherworker can take on, especially when it’s built from Chromexcel offcuts you already had sitting around. It teaches the core skills, cutting, stitching, edge finishing, without the cost or pressure that comes with a bigger project. Nail the basics here, and you walk away with a durable, good-looking card holder that only gets better with age. Plus, you’ll have the confidence to take on your next, bigger Chromexcel build.