Advanced Wet-Forming Techniques for Veg-Tan Tank Bibs
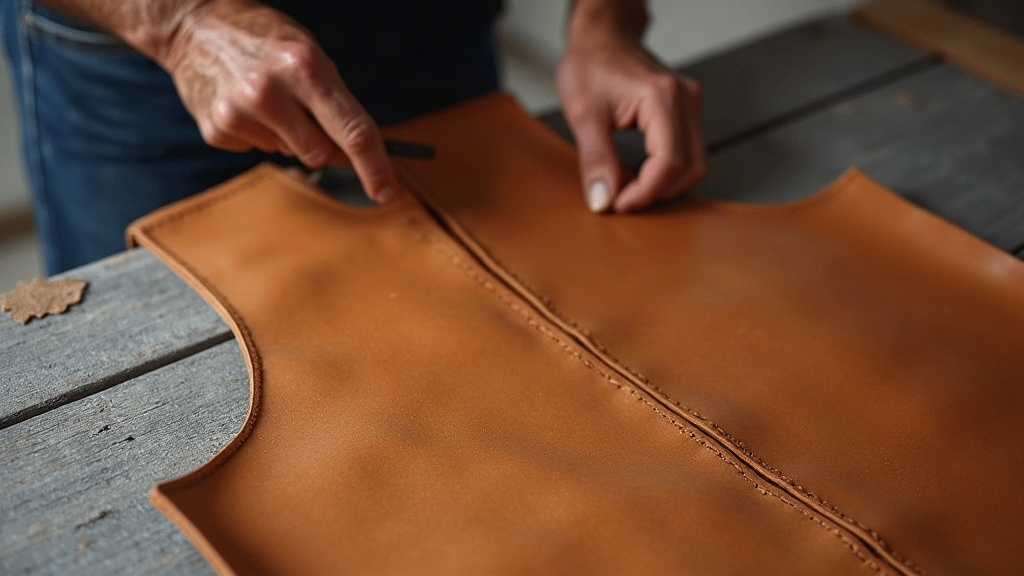
Wet-Forming a Vegetable-Tanned Motorcycle Tank Bib
Wet-forming vegetable-tanned leather into a motorcycle tank bib ranks among the most satisfying challenges you’ll find in leathercraft. It pulls together sculptural molding, careful pattern work, and finishing that actually lasts, all in one build. This guide covers the whole process, from picking your hide to the final hardening step, so the bib you end up with fits the tank like it was poured over it.
Why Vegetable-Tanned Leather Is the Only Real Choice
Chrome-tanned leather and most garment-grade hides simply won’t hold a shape once they dry out. They’re too stretchy, too chemically processed, to ever “set” the way you need. Veg-tan is different: the natural tannins bond with the collagen fibers while the hide is wet, then lock everything in place as it dries. That’s the whole reason saddlers, holster makers, and tank-bib builders reach for it almost without exception.
When you’re shopping for a tank bib project, look for:
- 8-10 oz (3.2-4mm) veg-tan for the structural rigidity you need around tank curves
- A hide with even temper throughout; skip anything loose or “flabby” near the belly area
- Confirmed vegetable tannage from the tannery itself (not a “veg-retan” blend, which molds poorly and won’t hold detail)
Step 1: Pattern and Pre-Wetting Prep
Don’t let a drop of water near the leather until the pattern is nailed down. Build it directly off the tank using masking tape and a Sharpie, then transfer the result onto poster board so you can test-fit before committing. Mark your centerlines, fold points, and the keyhole cutouts for the fuel cap and mounting straps while you’re at it.
Case the leather (wet it to around 70-80% saturation) with lukewarm water applied via sponge. Never submerge veg-tan meant for tooling-grade bibs; oversaturation weakens the fiber bonding and leads to uneven shrinkage later. You’ll know it’s ready when it darkens evenly across the surface and feels cool, pliable, almost like firm clay in your hands.
Step 2: Core Molding Technique
This is the stage that separates a professional-looking bib from something that screams “first attempt.”
Negative vs. Positive Forming
- Positive forming (molding straight over the tank, protected with plastic wrap) gives you the tightest, most accurate contour match, but it risks scratching the paint. Always run a thick barrier layer between leather and tank.
- Negative forming (using a foam buck or a plaster mold cast from the tank shape) is the safer route, and it’s repeatable if you’re doing a production run.
Working the Leather
- Center the cased leather over the form and start at the highest point, the hump of the tank, working your way outward from there.
- Use a bone folder or a smooth wooden modeler to press the leather into recesses (around the fuel cap, the keyhole, console edges) with small, overlapping strokes. One hard push will leave marks you can’t undo.
- For sharp creases, the kind you get on side panel folds, use a slightly heated edge creaser run firmly along a straightedge.
- Near tank necks, where tight curves show up often, introduce pleats or darts by overlapping small folds and burnishing them flat. It’s the same trick saddle skirts use to handle compound curves.
Stretch Management
Veg-tan stretches more along the belly and flank grain direction than it does along the backbone. Line up your pattern so the tank’s compound curve (that front dome) sits over the more elastic part of the hide, and save the stiffer backbone section for the flat panels.
Step 3: Controlled Drying and Hardening
Let the formed bib air-dry slowly, well away from direct heat or sunlight; either one will case-harden the surface and crack it. If you want a rigid, shell-like finish (and for a tank bib that has to shrug off road vibration, you do), here’s the process:
- Brush a leather hardening solution onto the underside only, either a 50/50 mix of white glue (PVA) and water, or a diluted contact cement wash if you want extra stiffness
- Give it 24-48 hours to cure at room temperature
- Hold off on wax-based stiffeners until the leather is completely dry; applied too early, they trap moisture and invite mold
Check the tension every few hours during that first day. If any area starts pulling away from the form, re-press it with gentle hand pressure before it sets wrong.
Step 4: Edge Finishing and Protection
Once it’s fully dry and off the mold:
- Sand the edges to 400 grit, then burnish with gum tragacanth or beeswax until they’re glass-smooth
- Apply a leather conditioner with UV inhibitors built in. Tank bibs sit in direct sun far more than a wallet or belt ever will
- Seal the grain side with a breathable acrylic topcoat so it can shrug off gas splashes and rain without suffocating the leather underneath
Common Mistakes to Avoid
- Over-wetting: washes out the tannins and leaves you with a mushy, weak final shape
- Rushing the dry cycle: force-drying with heat makes for brittle leather that cracks within months
- Ignoring grain direction: leads to uneven stretching and panels that warp
- Skipping test-fitting: dry-fit the paper pattern three times, minimum, before you touch actual leather
Final Thoughts
Wet-forming a veg-tan tank bib rewards patience, not speed. The real craft isn’t in muscling the leather into shape; it’s in controlling moisture, planning around grain direction, and letting the cure happen slowly and evenly. Get those fundamentals right and you’ll turn out bibs that hold their form for years, taking on sun, vibration, and road grime, and somehow looking better with every mile you put on them.